
Like hiking, mountain biking lets you find some of nature’s most stunning hidden gems, with the added benefit of not having to walk back.
Whether you put your bike away for winter activities or gave it a hard ride through the mud and muck, now is the ideal time to properly inspect your vehicle to ensure it’s in peak condition for spring.
First, when examining your bicycle, it’s wise to decide on a method. Work from front to back or divide the task into other areas, such as wheels, frame, suspension, brakes, and drivetrain. Any approach will do as long as you take care of everything.
Get Your Mountain Bike Ready

Maintaining your bike in excellent working order is crucial for being safe, enjoying yourself on the trails, and even improving your abilities, whether you’re an experienced mountain biker or just getting started. Before hitting the trails this spring, look through these ten items.
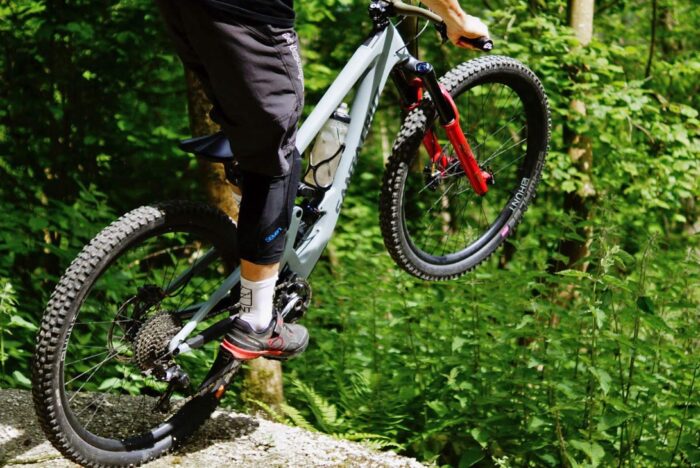
1. Height and Placement of the Saddle
One of the most important components of bike fit is saddle height. To determine this more exactly, you can pay for a bike fit, but you can also make an educated guess on your own. When your foot is on the pedal at six o’clock, your leg should be slightly bent at the knee rather than entirely straight. It shouldn’t feel like you have to “reach” to finish the pedal stroke, nor should it seem like you’re squatting awkwardly.
Additionally, the seat post’s saddle position may be altered. In addition to its angle, the saddle’s position may be adjusted regarding how far forward or back it sits. Starting with your saddle flat, we advise making gradual changes to determine what feels comfortable. A qualified bike fitter may also measure and set this up for you if you’d like.
2. Tires
Find out how much tread is still on your tires, and look for peeling knobs as well. Make sure the tire is free of any tiny rips or thorns that can cause a problem on the trail by inspecting it.
It’s not unusual for tire casings to fail before the tread has worn down. Examine the sidewalls for signs of severe wear, such as abrasions and threads that stick out from the casings.
If you use tubeless tires, this would be a good time to top them off with a fresh scoop or two of your preferred sealant.

3. Adjusting the saddle
Setting up your saddle properly on your new mountain bike is the first thing you should do. This guarantees a pleasant ride and prevents unneeded aches and pains as you log kilometers. Saddle height is crucial; if it’s too low or high, it may cause knee pain or even worse; the ideal height will allow you to cycle comfortably and effectively.
To accomplish this, position the saddle so your leg is straight and sit on the bike with your heel on the pedal. When you are riding, you will use the ball of your foot to the pedal, naturally bending your leg somewhat.
The saddle angle is crucial. The saddle should generally be placed horizontally with the ground. Most people will feel at ease with this stance because it is neutral. Putting too much pressure on your delicate area by tilting the saddle nose up or down will cause you to slide backward or forward. Having said that, there is a tendency for full-suspension bikes to slant the nose down to improve climbing performance. Our advice is to try different things and find what works best for you.
Additionally, you may adjust the fore and aft by moving the saddle on the rails. Slide the saddle forward if your position seems too loose; conversely, put the saddle backward on the rails if your position feels too tight. Once you feel comfortable riding the bike, start with the saddle in the center of the rails and make adjustments from there.
4. Suspension
Furthermore, pay attention to your fork and shock. The first step is to set the air pressure and sag. The rider’s weight will determine this. The suspension will also include adjustments for rebound and compression. You might begin by utilizing the recommended settings provided by each suspension manufacturer. For a more detailed look, see our mountain bike suspension adjustment page.
5. Wheels
Check for any vertical jumps or side-to-side wobbles by spinning your wheels. Additionally, this is a good time to check that the hubs are not too tight or loose and that the wheels can spin freely. Make sure none of the spokes are loose by giving them a brief squeeze.
Look closely at the intersection of the nipples and the rim; even little cracks have the potential to develop into significant issues.
Take the wheel to your preferred shop instead if you don’t feel safe doing it.
6. Frame Fasteners
While examining your brakes, cockpit, frame, and drivetrain would have covered some of these nuts and bolts, it is still essential to address them separately.
Purchase a torque wrench if you intend to perform your own bike repair and don’t already have one. On your workbench or in your toolbox, keep a list of the recommended torque values from the manufacturer. Pay close attention to the stem and handlebar, which are the bolts that keep your grin secure.
Lastly
While getting ready for a mountain bike ride is undoubtedly more challenging than getting ready for a run or going to the gym, mountain biking is, as we all know, far more gratifying than any other sport.
Lastly, review the equipment that links you to the bike. Make sure your shoe buckles are in good condition and that the screws holding your cleats are tight.
Look for cracks in your helmet and replace them if necessary.
Examine your tools as well. Make sure your micro pump and shock pump are both functional. Replace any items in your first-aid kit that you used but didn’t replace the previous season.


