No matter how much you may enjoy your naturally curly hair with its rich, bountiful, and healthy texture, there’s one hairstyle you’ll choose just for a nice change of pace: a silk press. Yes, jumbo topknots and twist-outs are cool but stirring things up with a new, silky ‘do is something we girls are always up for. Sometimes those smooth-flowing strands are so refreshing. But how to enjoy an occasional silk press without damaging your natural hair with excessive heat?
Although too much heat and natural hair aren’t exactly best friends, it is possible to achieve good results at home with some knowledge and the right approach. So, how about giving a silk press hair a try? Today’s your lucky day! Keep reading to learn what a silk press is exactly, how to perform it on natural hair while making it as delicately as possible, as well as how to keep the style in tip-top shape and make it last longer.
Silk Press: Briefly on the Whats & Hows

Without further ado, let’s get the term straight. What is a silk press? It’s a chemical-free hair straightening technique that metamorphoses your strands from super curly to silky straight. The technique has been around for years, but the name came recently from a play on words: pressing the locks with a straightener for a silky smooth finish.
Basically, a silk press is an upgrade to the well-known press and curl, just with less heat. Therefore, your chances of getting a burn are now close to zero. The procedure doesn’t feature chemicals. Instead, it relies on deep conditioning and (of course!) a top-notch flat iron. If you choose a high-quality flat iron, you’ll minimize heat damage and achieve the healthiest outcome. This Mystraightener comparison may come in handy if you’re on the prowl for the best flat iron to suit your needs.
Because a silk press is performed using heat instead of chemicals, make sure you stay away from H2O and wrap your locks up at night to boost the longevity of the result. All this silkiness won’t last forever (naturally), but it will keep the new-you happy for some time, which is fantastic!
How to Silk Press Natural Hair at Home
Before we proceed with the details on how to achieve the perfect silk press at home, here’s a quick step-by-step guide on the procedure:
- cleanse your strands like a pro;
- utilize a leave-in conditioner;
- prep your locks by incorporating heat protectant;
- work on blow drying;
- straighten to perfection;
- seal it with a light shine spray or hair serum for some extra sheen.
1. Cleanse: Starting With Very Clean Strands Is Vital

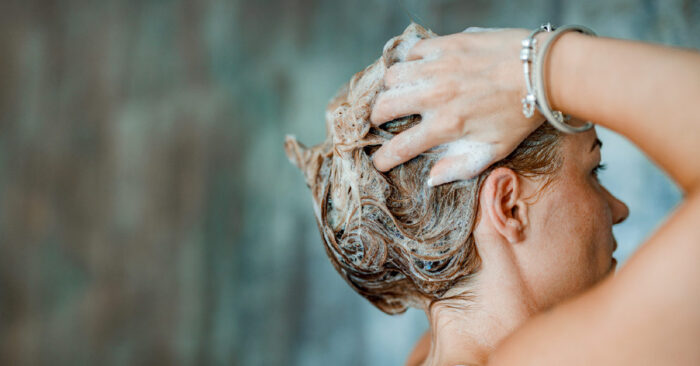
Before you even pull out your flat iron, begin the process by thoroughly cleansing your hair. This will make styling easier, while significantly boosting the silkiness you’re about to achieve. First, shampoo your strands with clarifying shampoo. This will help you get rid of all the dirt and oil, thus preventing any sort of residue or oil buildup from burning your locks once you start using a straightener. After that, cleanse your strands with a moisturizing shampoo for maximum hydration.
2. Condition: Use a Wash-Out Conditioner
Applying a wash-out conditioner is crucial because it moisturizes your locks on a deeper level. Focus on lathering the conditioner in well, then rinse it out. Follow these tips for a super smooth finish:
- for deep conditioning and keeping frizz at bay, opt for a product made expressly for hair pressing;
- let the conditioner set in either by using the heat coming from a hot shower or by wrapping your strands with a towel for twenty minutes.
3. Prep: Use a Leave-in Conditioner

After rinsing out your wash-out conditioner, proceed with protecting your mane from heat damage. Apply a light leave-in conditioner to your wet locks. A high-quality product will add moisture to your hair without weighing it down. As an alternative, you can apply argan oil instead of a leave-in conditioner. In addition to the leave-in, experts recommend using a product with hold before blow-drying your hair, e.g. a high-quality heat-shield serum or volumizing spray.
4. Blow-Dry: Never Skip This Step
After washing, deep-conditioning, and heat-protecting your mane, it’s finally time to blow-dry. Always blow-dry your hair prior to straightening it, for if you opt for air-drying it instead, you will hardly ever achieve that perfect silky smooth finish. First, once you’re past the prep stage, section your hair into four parts: from ear-to-ear and down the middle. Then start blow-drying at the front of your hair, right at the hairline.
Irrespective of the blow-dry approach you’ll opt for, ensure your strands are 100% dry before you reach out for your straightener. If you flat iron your locks wet, you will damage them severely by literally frying them. Opt for a blow dryer with a multitude of settings to cater to your needs.
5. Straighten: Let the Fun Part Begin

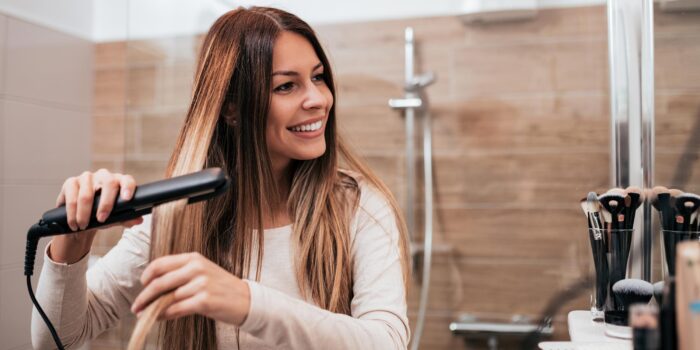
Before pulling your flat iron, add a tiny bit of thermal protectant cream to your hair for easier combing and brushing. Now, it’s time to straighten your locks. Divide them into sections and work with one small part at a time. Keep the straightener temperature under 400 F. Avoid going over the strands more than once with your straightener. Once your mane is silk-pressed to perfection, add a touch of hairspray or hair serum to bolster the look with some extra shine.
Conclusion: A Few Words on Making It Last
You’ve put in all the work to rock that stunning sleek look, so it’s natural that you want it to last the longest time possible. Start with proper sleeping habits to increase the longevity of the new-you style. Wrap your hair at night with a silk scarf to retain your mane’s luster. Avoid applying more heat to your strands if you don’t want to end up with stiff hair. Avoid water, steam, and sweat to prevent your hair from getting back to its usual texture. Have anything to add on the topic? Leave a reply in the comments below!


