
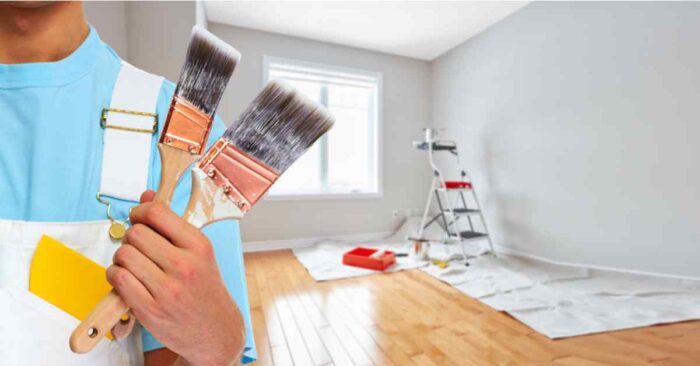
Painting a house can be a daunting task. Not only do you need to worry about the colors, but you also need to make sure that the paint will cover all of the nooks and crannies.
In this blog post, we’ll give you some tips on what paint brushes and materials to use when painting your house. We’ll also talk about how to avoid common mistakes and tips on how to take care of your newly painted home.
Preparation
You’ll need painter’s tape, drop cloths, cans and brushes, and a roller. If you’re using a single color, use a brush to apply it directly to the surface. If you’re using a mixture of colors, use a spray bottle to mist each color onto the brush.
Start by marking the walls with a painter’s tape measure. Make sure to include any molding or trim around the doors and windows. This will help you plan your strokes and avoid overlapping. If you need help you can always hire a house painting contractor.
Remove any old paint, sealant, or wax with a power washer or a dry cloth. Sweep and vacuum the area. If you don’t have a power washer, contact a local pressure cleaning company.
Use a primer that is specifically designed for wood surfaces. Primers can help fill in cracks and holes, protect the wood from moisture damage, and provide an easy-to-wipe finish.
What kind of brushes should you use?
This can be a messy and tedious job, but with the right tools, it can be a breeze. Here are four types of brushes you’ll want to have on hand:
- Flat brush – This is your go-to brush for general paintwork. It’s wide and flat, making it perfect for applying large areas of color or knocking down dried paint.
- Round brush – A round brush is perfect for detailed work like blending colors or filling in small areas. It has a pointed tip that allows you to get into nooks and crannies.
- Angled brush – An angled brush is great for ceilings or other high spots. Its flexible bristles make it easy to move around tight spaces and reach high places.
- Small roller brush – This is perfect for dusting off walls and ceilings after the painting is complete.
A synthetic brush is best for flat surfaces like walls and ceilings. A natural bristle brush is better for corners and edges where paint might drip. Avoid using a bristled brush on wood because it could scratch the surface.
If you’re painting an exterior surface such as a wall or deck, you’ll need an outdoor brush. This type of brush has stiffer bristles that help you cover more area quickly and evenly. Plus, because they’re made for outdoor activities, these brushes are tough enough to handle drips and splatters while you’re working.
A quick tip
When it comes time to clean your brush, hold the bristle end against the edge of a sink and let the water run through it. Rinse off the bristles and let the brush dry before using it again.
What materials should you use?
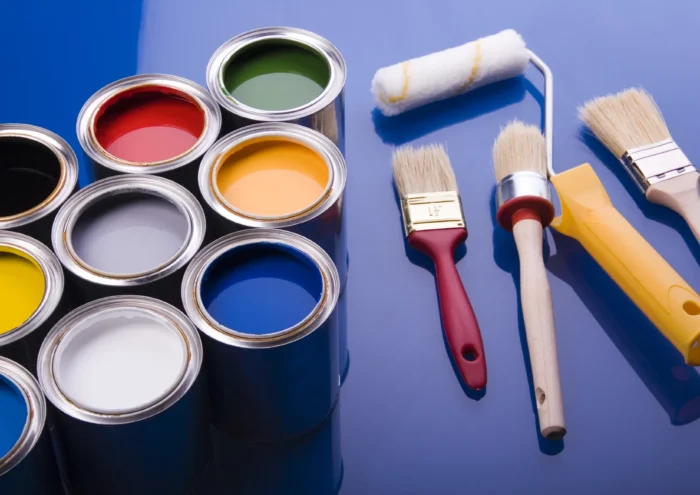
The type of paint you use can make a big difference in the end result.
When painting your walls, you will want to use a roller to apply the paint. You can either buy a roller set or rent one from a painter. When using the roller, be sure to apply pressure and keep the roller moving until the paint has been applied evenly to the surface.
For ceilings and trim, you will need to use a brushless sprayer. This type of sprayer uses an atomizer to deliver the paint instead of using droplets. When using this type of sprayer, be sure to read the directions carefully before starting so that you don’t end up with drips all over your flooring!
How to mix the paint?
It can be difficult to paint a living room without first understanding the proportions of each color. To help mix the paint correctly, follow these simple tips:
- Divide your painting surface into thirds. This will give you three equal sections in which to work.
- Measure out one cup of each color, and put it into a jar or bowl.
- Add enough water to make a thick paste, and stir until all the powder is dissolved.
- Apply the mixture to one section of your surface at a time, using a brush or roller. Be sure to cover the entire area with the mixture.
- Let the mixture dry for at least two hours before moving on to the next section of your painting.
Tips for walls and ceilings
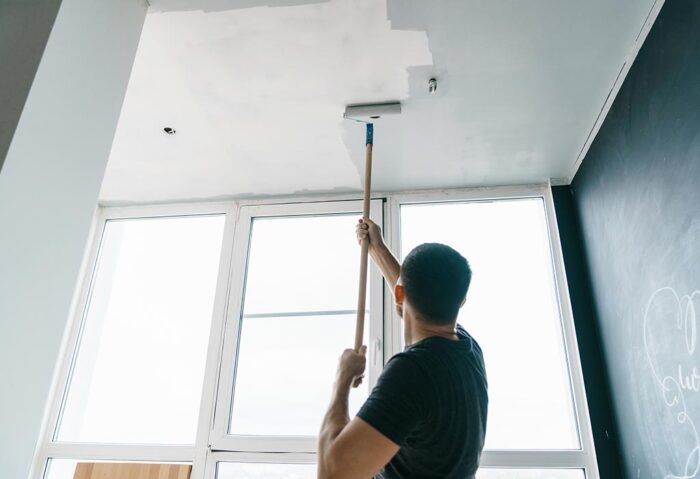
When painting walls and ceilings, use a brush with a flexible edge and angled bristles that can be easily pushed into the surface. Try using a roller to cover large areas quickly and evenly, then go over the area with the brush. For corners or edges, use a sponge or rag to apply paint in those spots.
When painting trim or molding, use a brush that is specifically designed for this purpose. Start by spraying clean water onto the area to be painted, then wet the brush and apply paint to the dampened bristles. Be sure to hold the brush at an angle so that it arrives at an even coat on all sides of the trim or molding.
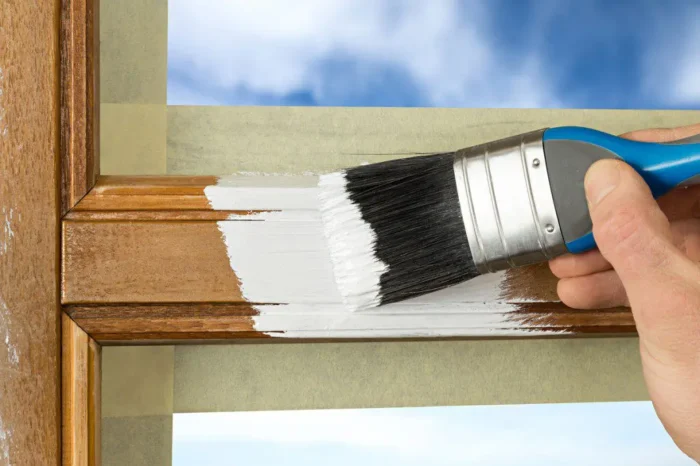
Tips for doors and trim
If you’re painting trim and doors, use a different type of brush for each. For instance, use a small brush to paint the edge of a doorjamb. Then use a larger brush to paint the rest of the jamb. This will help prevent the trim from getting too wet and becoming mottled or uneven.
When painting trim, always start with the outside and work your way in. This will help avoid drips and runs. Also, be sure to use straight strokes when painting so that the paint looks consistent from one end of the trim to the other.
Conclusion
When it comes to painting a house, there are a lot of different factors to take into account. From the type of paint you’ll be using to the specific surface you’re working on, knowing what brushes and materials to use can make all the difference.
In this article, we’ve outlined some of the most important factors to consider. Hopefully, this will help you get started on your next project without any trouble.


