
If you’ve ever dealt with network connectivity issues, you know how frustrating they can be. One common culprit is a faulty CAT5 cable. Fortunately, with a few simple techniques, you can repair these cables and restore your network to its full potential. In this article, we will explore four valuable techniques for CAT5 cable repair: wire tracing and identification, untwisting and straightening the wires, wire splicing and reconnection, and proper cable insulation and protection.
Technique 1: Wire Tracing and Identification for CAT5 Cable Repair
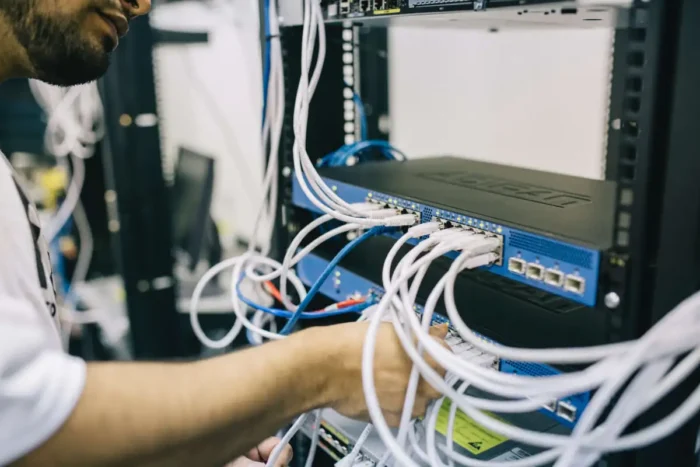
When faced with a faulty CAT5 cable in data cabling for commercial businesses, the first step is to identify the problem wires. Begin by carefully examining the cable for any visible damage, such as cuts or frayed ends.
Next, you can use a cable tester or a multimeter to trace the wires and determine which ones are causing the issue. This process involves connecting the tester to one end of the cable and then checking the corresponding wires on the other end. By identifying the problematic wires, you can focus your repair efforts effectively.
Technique 2: Untwisting and Straightening CAT5 Cable Wires
Once you have identified the faulty wires, the next step is to untangle and straighten them. Begin by gently unraveling the twisted pairs, being careful not to apply excessive force that could damage the delicate wires. A useful technique is to use a small pair of needle-nose pliers or a cable untwisting tool to carefully separate the twisted pairs. Take your time and ensure that each wire is straightened and ready for the next step.
Technique 3: Wire Splicing and Reconnection in CAT5 Cable Repair

After untangling and straightening the wires, you will need to splice and reconnect them to restore functionality. Start by trimming the damaged or frayed ends of the wires to ensure clean and fresh connection points. Then, align the corresponding color-coded wires according to the T568A or T568B standard, which specifies the correct order for the wires within the CAT5 cable. Use a wire stripper to remove a small section of insulation from each wire, and then carefully twist the exposed copper conductors together. Finally, secure the connections with electrical tape or heat shrink tubing for added protection.
Technique 4: Proper Cable Insulation and Protection for Longevity
To ensure the longevity of your repaired CAT5 cable, it’s essential to provide proper insulation and protection. Begin by sliding a cable jacket or heat shrink tubing over the spliced section of the cable, covering the exposed wires and connections. Apply heat to the tubing or use a heat gun to shrink it securely around the cable. This step helps to prevent moisture, dust, and other contaminants from interfering with the repaired wires, ensuring a stable and reliable network connection.
Conclusion
By following these four techniques for CAT5 cable repair, you can save time and money by fixing faulty cables instead of replacing them entirely. Remember to exercise caution and patience throughout the process to avoid further damage. Whether you are a networking professional or a DIY enthusiast, these repair techniques will empower you to tackle common cable issues and keep your network running smoothly. Stay connected!


